Screen Recording Best Practices for Developer Tutorials
Planning beats production quality when keeping viewers through the entire tutorial.

Summary
Planning beats production quality when keeping viewers through the entire tutorial.
Here's the finding that should change how you plan before you ever open a recording tool: 42% of viewers stop watching because the video didn't cover what they expected. Not bad audio. Not shaky camera work. A mismatch between what the title promised and what the content delivered. The most common reason a tutorial fails has nothing to do with production quality at all.
Optimal length for most topics sits between three and six minutes. Complex material can justify up to twenty, but that's never your default. When something genuinely runs long, the answer is a series. Four five-minute episodes with a clear structure let a viewer who drops off re-enter at a known point. One 22-minute monolith just makes them give up and close the tab.
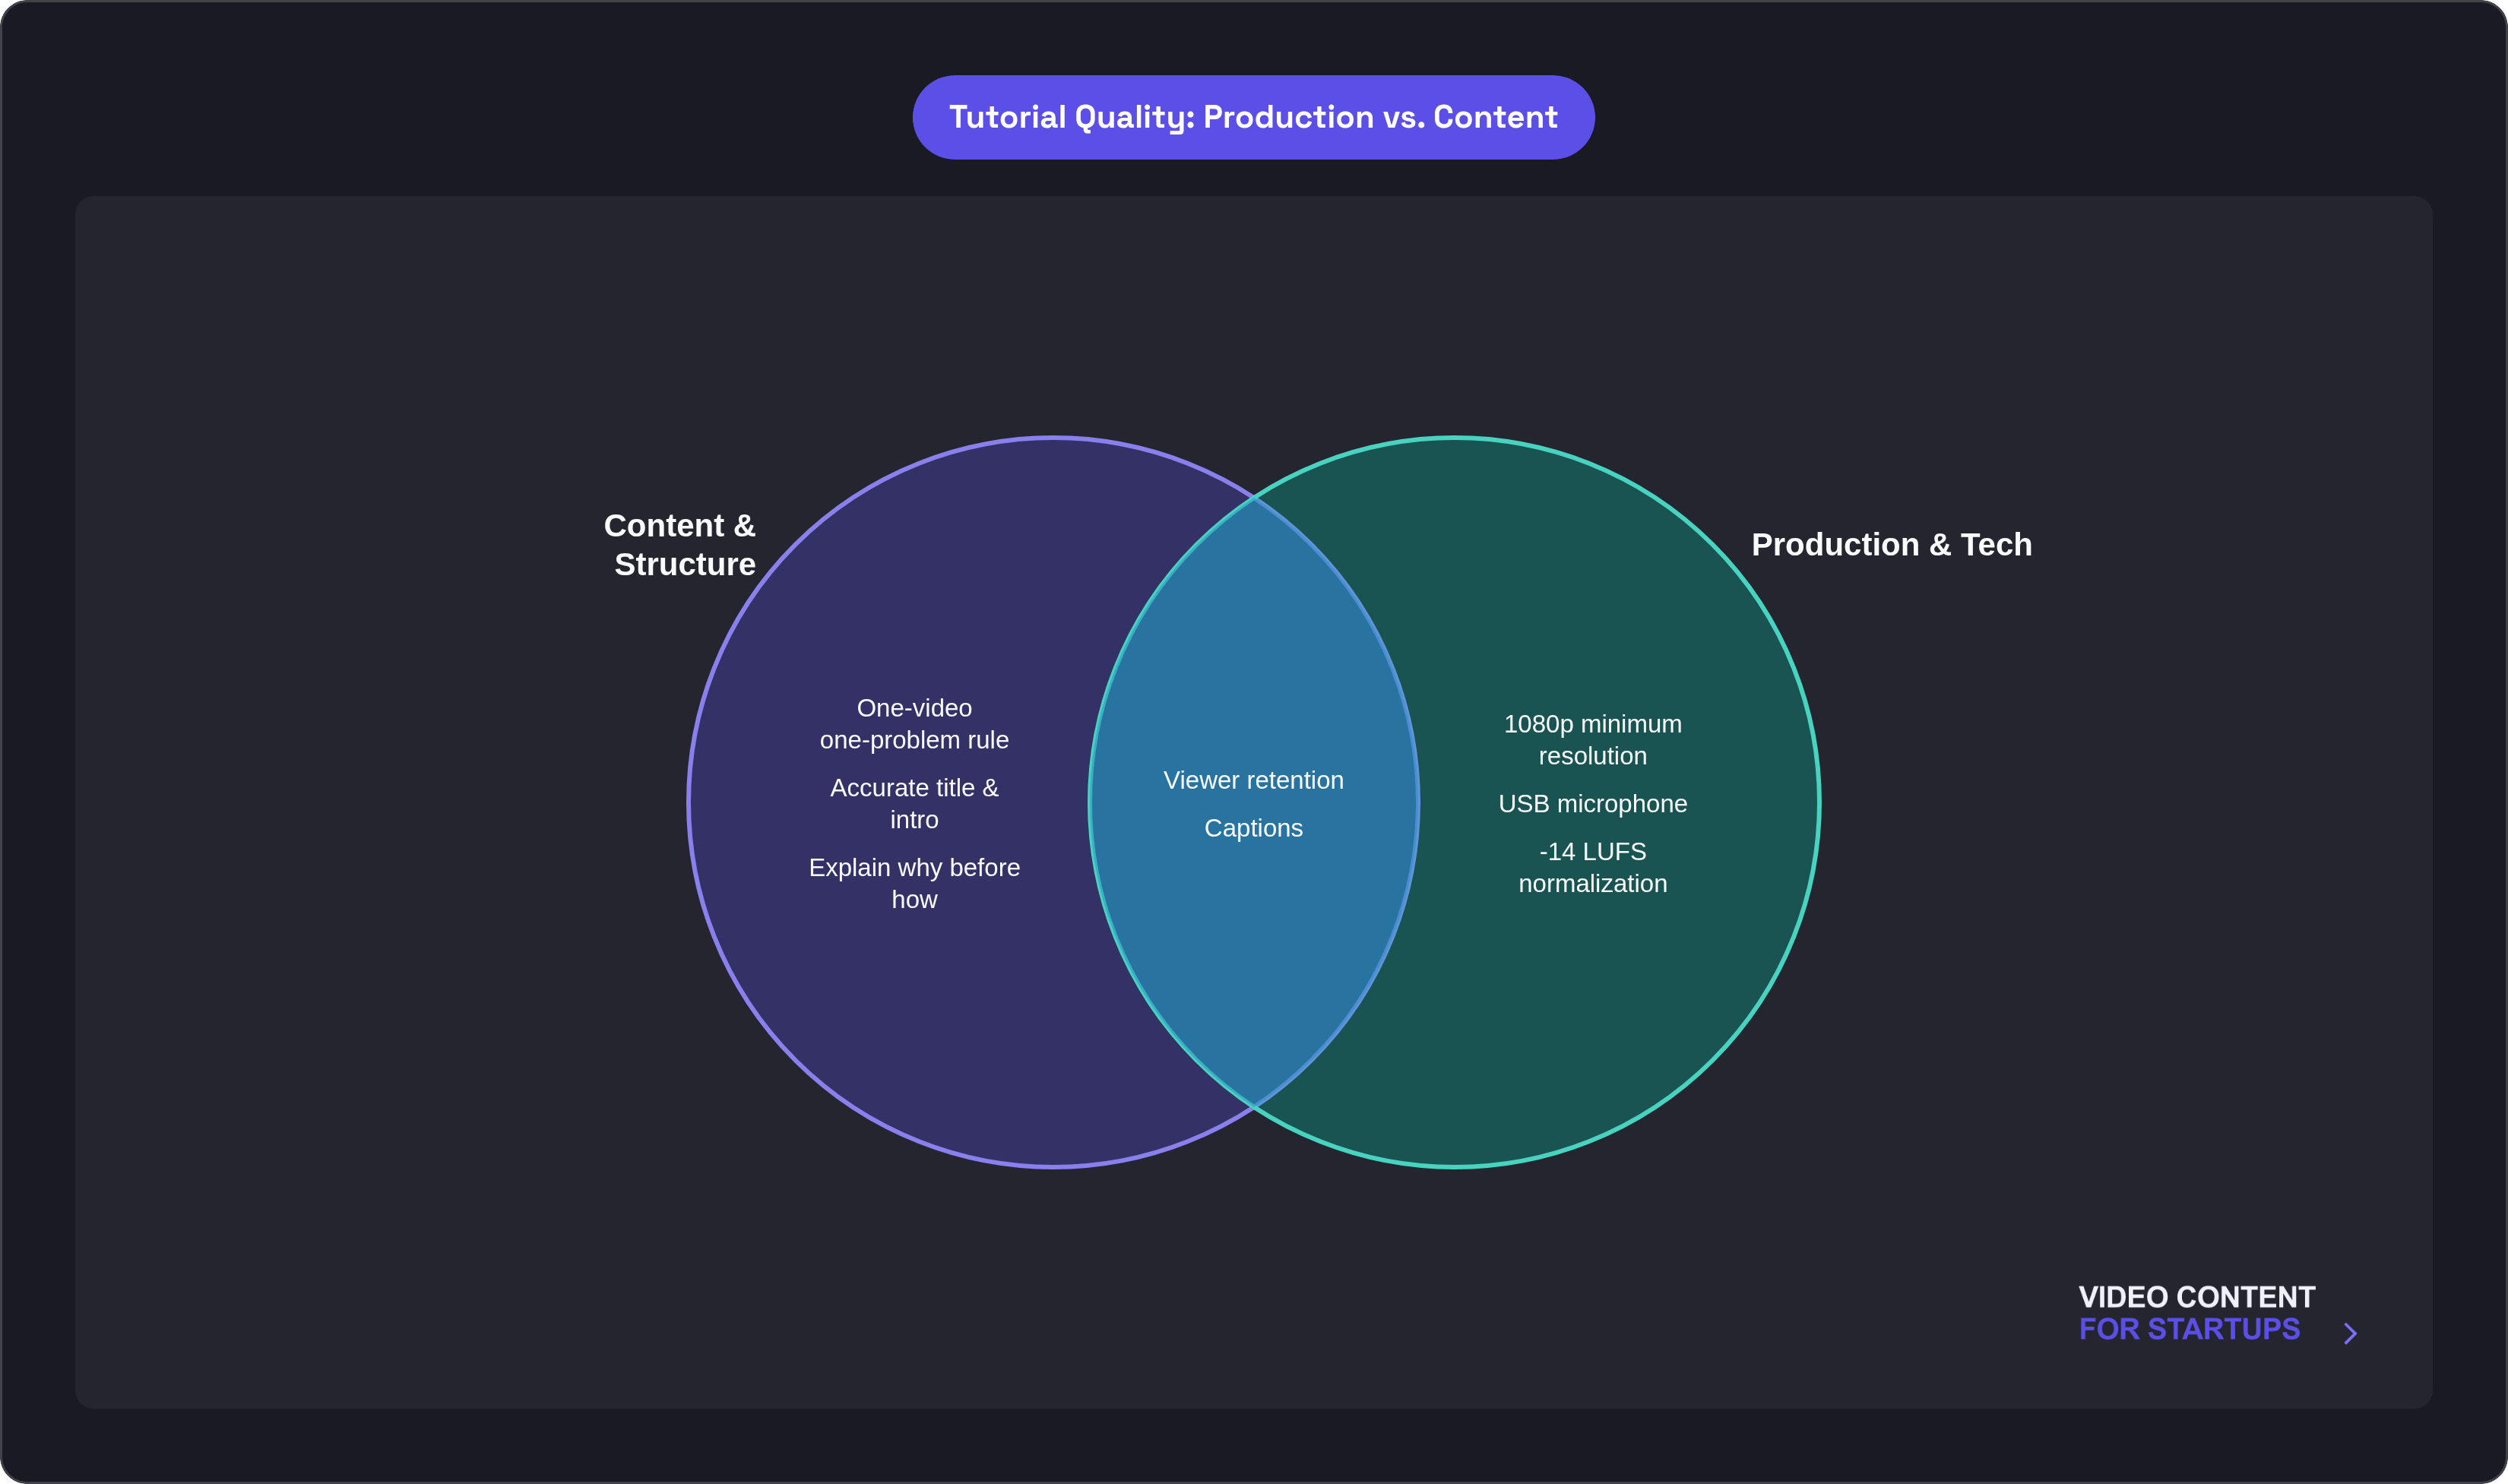
The one-video, one-problem rule isn't stylistic preference. It's what retention data shows. Educational how-to content on YouTube holds nearly double the platform's average audience retention, but only when the content delivers exactly what the title says it will. A tutorial called "Getting Started with OAuth" that also walks through webhook setup is two videos pretending to be one. The moment viewers realize they're in the wrong place, the retention advantage is gone.
Setting Up Your Environment Before You Hit Record
This is the part most developers skip, and it's where most tutorials quietly fall apart before a single frame gets recorded.
Close everything unrelated to what you're demonstrating. Clear your desktop. Hide your bookmarks bar. Developers watching you are exactly the kind of people who will notice a stray folder on your desktop and spend the next thirty seconds wondering what's in it instead of following along.
Kill your notifications before you start. A Slack ping mid-sentence means you either re-record the whole segment or live with an audible cut. Neither option is fun, and one of them is embarrassing.
Bump your IDE font size to 14 to 16 points. This is the single most common setup mistake I see. Code that looks perfectly readable on your monitor compresses into a blurry mess at 1080p playback on someone else's screen. You can't see the problem because you're viewing the recording on the same monitor you work on every day. By the time a viewer tells you in a comment that they can't read the code, you've already lost them.
Decide who you're talking to before you record. An internal walkthrough for your own engineers has different pacing and assumed knowledge than an onboarding tutorial for new customers. Trying to correct for the wrong audience in post is miserable, slow, and usually incomplete.
On scripting: a full word-for-word script sounds like exactly what it is. Stiff, over-rehearsed, a little dead behind the eyes. A detailed outline plus five minutes of talking through it gets you most of the fluency without the robot energy. Think of a good script outline the way you think of a good API — it gives you structure without locking you into a rigid implementation. If you're doing a series, also lock down your visual setup across every episode. Same terminal font, same theme, same browser profile. Visual inconsistency between episodes signals carelessness to the exact audience you're trying to earn trust with.
Recording Settings That Hold Up at Playback
Record at 1080p minimum. Below that, code becomes illegible at fullscreen and your tutorial stops being useful the moment someone tries to actually follow along. This isn't a style preference. It's the technical floor you cannot go below.
Format follows use case. GIF makes sense for README demos where autoplay and small file size matter. MP4 is right for documentation sites and YouTube, where viewers expect seek controls and captions. Using the wrong format doesn't break anything technically. It just quietly frustrates people in ways they can't quite articulate.
Cursor movement is a teaching tool, not an afterthought. Erratic, wandering movement reads as nervous energy and pulls attention away from the code. Slow, deliberate movement that lands on the element you're explaining tells the viewer exactly where to look. That's the actual job the cursor is doing.
Zoom in on the code you're explaining. A walkthrough of a function while zoomed out to show your full IDE forces viewers to pause, squint, and rewind. If they're squinting, you've already lost the thread.
For terminal-only sequences, Asciinema is worth knowing. It produces lightweight, text-based recordings that are searchable and copyable. That's a real advantage over full screen capture when all you're showing is terminal output. For API and SDK work, consider pairing Asciinema for terminal segments with OBS or Camtasia for IDE and browser capture.
One more thing: when you type the wrong OAuth scope and the API throws an error, show it. Fix it on screen. Don't edit it out. A clean run looks polished. A real one teaches more.
Getting Audio Right, Because Viewers Will Leave Over Bad Sound Before Bad Video
Viewers tolerate mediocre video. They abandon videos with bad audio, and they do it fast. You have maybe ten seconds of muffled, echoey sound before someone decides their time is better spent elsewhere. A decent USB microphone is the single highest-return hardware purchase for any developer producing tutorials. Everything else is secondary.
Place the mic six to eight inches from your mouth. Too close, and you get plosive pops on "p" and "b" sounds. Too far, and you're picking up the room. Neither sounds good, and fixing either after the fact is hard.
Room treatment matters more than microphone price. A mid-range USB mic in a carpeted room with curtains will beat an expensive mic in a bare home office with hard walls. Echo is stubborn. EQ can take the edge off, but it can't fully fix it in post. Treat the room first, then worry about the gear.
During recording, target your gain levels between -12 and -3 dB. Below that floor, you're capturing too much ambient noise. Above it, you risk clipping. Post-production can only partially fix either problem.
For YouTube specifically, normalize your final audio to -14 LUFS. YouTube's processing will otherwise handle your audio inconsistently across a series, and viewers will notice the volume jump between episodes even if they can't name what's bothering them. They'll just find it annoying.
The standard recording spec for tutorial voiceover is 24-bit at 48kHz. Most USB microphones support it. Most developers never touch the default setting. You could say it's a setting that goes unheard.
Structuring the Tutorial So It Actually Teaches Rather Than Just Demonstrates
The reliable baseline structure is three parts: an intro that states exactly what will be accomplished and what the viewer needs in place before starting, the main walkthrough, and a short close that confirms what just got built. No extended preamble. Developers are usually in the middle of something when they hit play, and a 90-second warm-up is just 90 seconds of their time you spent on yourself.
Explain why before you explain how. One sentence on the problem that microservices architecture solves makes every subsequent step make sense. Without that framing, viewers follow instructions without building understanding. They get the output but not the skill. Those are genuinely different outcomes.
Break complex topics into segments that each produce something runnable. A developer who can execute code and see output at the end of a segment stays oriented. A developer who watches twelve minutes of setup before anything runs is already halfway to closing the tab. Give them a small win early.
Your title and intro need to accurately reflect both what the tutorial covers and what it doesn't. This sounds obvious. It isn't, based on how many tutorials get it wrong. A viewer who self-selects in because the title matches their actual question stays longer. A viewer who figures out midway through that this wasn't what they needed is gone, probably annoyed, and possibly leaving a comment about it.
Chapter markers and a linked code repository do for your tutorial what clear signposting does for any technical document. They tell viewers where they are, where they're going, and where to come back to when they need to reference something later.
Choosing a Tool That Matches How You Actually Work
The honest shortcut: terminal only means Asciinema. Full IDE and browser capture with polished output means OBS Studio or Camtasia. Narration editing is your bottleneck means Descript. Speed of sharing matters more than production value means Loom.
OBS Studio is the best free option for developers who want real control. It runs on every major platform, handles IDE and browser capture well, and has a massive community behind it. The trade-off is a real learning curve and no built-in editor. Post-production happens somewhere else.
Camtasia is the all-in-one option. Recording, zoom effects, callouts, and editing in a single application. A recent release added AI filler-word removal and silence trimming, which genuinely cuts editing time. It costs around $599 per year, which is not nothing, but the integrated workflow has real time value if you're producing tutorials regularly.
Descript is the right call when narration revision is your main editing task. You edit the video by editing the transcript. That sounds gimmicky until you're on your fourth re-record of the same section and realize you could have just changed three words in a text document instead. That's when it clicks.
Loom is built for quick async walkthroughs shared with a team. It's excellent at that specific thing. It's not really built for polished published tutorials, and it shows when you push it in that direction.
A ten-minute tutorial that would typically take an hour of manual editing can reach final review in ten to fifteen minutes with the right tools. That time savings compounds fast across a series.
Post-Production Choices That Respect a Developer Audience's Time
Cut silence and hesitations. Developers watching a tutorial are usually in the middle of a task. Dead air reads as wasted time, not thoughtful pacing.
Do not cut real debugging. A mis-typed command that gets corrected on screen teaches error recognition. An invisible edit that skips the mistake leaves the viewer confused about why their own attempt produced unexpected output. Show the error. Fix it. Move on. That sequence is the tutorial.
Add chapter markers. A twelve-minute video without them forces anyone who dropped off to scrub blindly back to wherever they left off. Chapters make the video reusable as reference material rather than just something you watch once and forget.
Use captions. The obvious reason is accessibility. The less obvious reason: API endpoint strings and command names shown in captions while you speak them reduce the transcription errors viewers make when copying what they hear. One feature, two problems solved.
Embed the video in your documentation and link every demonstrated file in a GitHub repository. The video teaches the motion. The repo provides the artifact. Viewers need both to actually do the thing you're showing them how to do.
The consistency work you put in during setup pays off here. A uniform visual style, narration tone, and chapter structure across a series means a viewer who finishes one tutorial already knows how to navigate the next one. That's the difference between a collection of recordings and something that actually builds understanding over time.

